

Home Removal of Tartar: Step-by-Step Guide for Beginners
Exact steps, timings, and positions for your first session and every session after. No guesswork.
Most guides explain what to use but not exactly how to do it. This one does both. Follow this sequence from the first session and you will see measurable results within 6 weeks, without confusion about what goes where, when, and for how long.
What You Need Before Starting
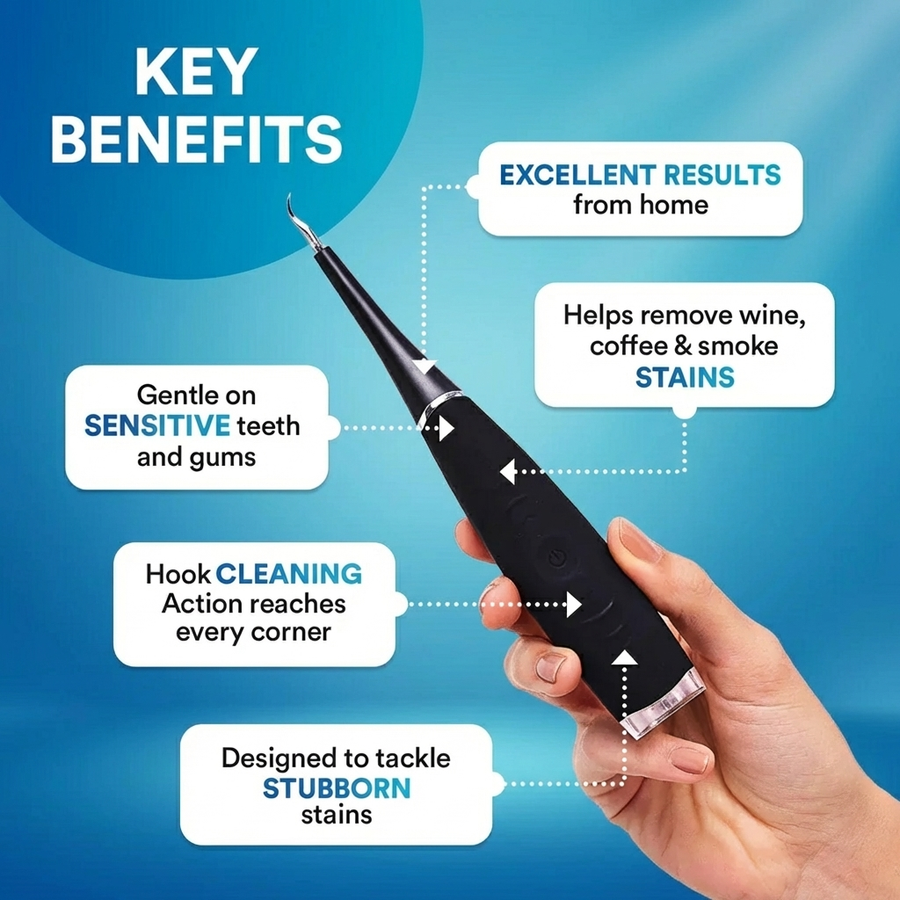
The core tool is an ultrasonic tooth cleaner with a fine metal tip and a flat polishing tip. Beyond that: a glass of water for rinsing between steps, a small mirror or compact to check access on inner surfaces, and 6 to 8 minutes of uninterrupted time. That is the complete setup.
Make sure the device is charged before your first session. A device that dies mid-session interrupts the flow and is a small but real friction point for habit formation. USB-C devices are easiest to keep charged because you can top them up from any phone charger.
Rinse your mouth with water before starting. Not mouthwash, just water. Removing loose debris clears the field and prevents the fine tip from clogging with soft material before it reaches the calculus deposits beneath.
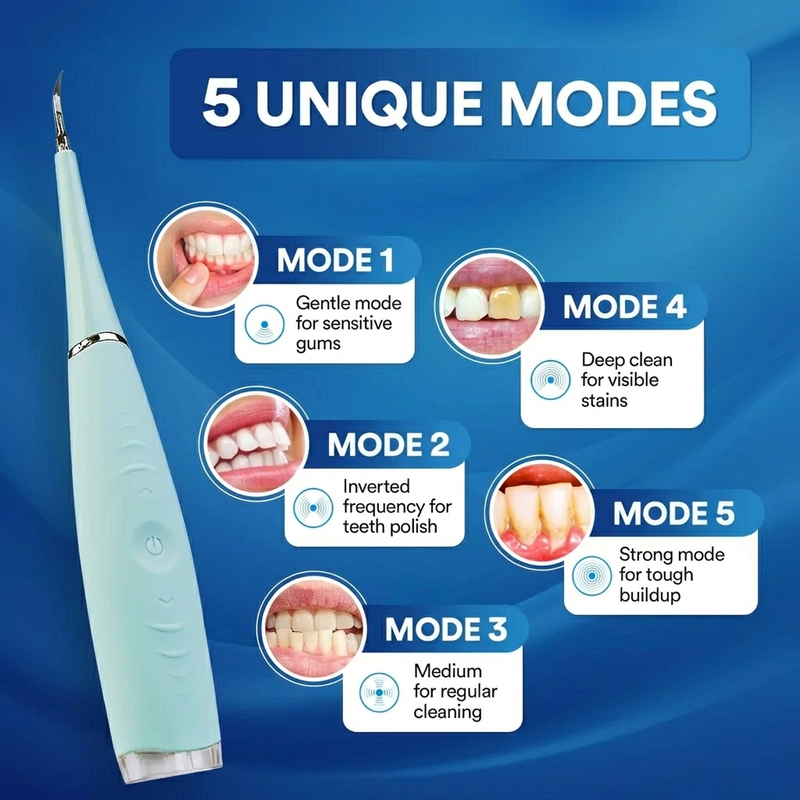
Rinse with plain water first. Attach the fine metal tip. Set intensity to lowest for the first 3 sessions, medium after that. Make sure you can see what you are doing by tilting toward a light source or using a small mirror.
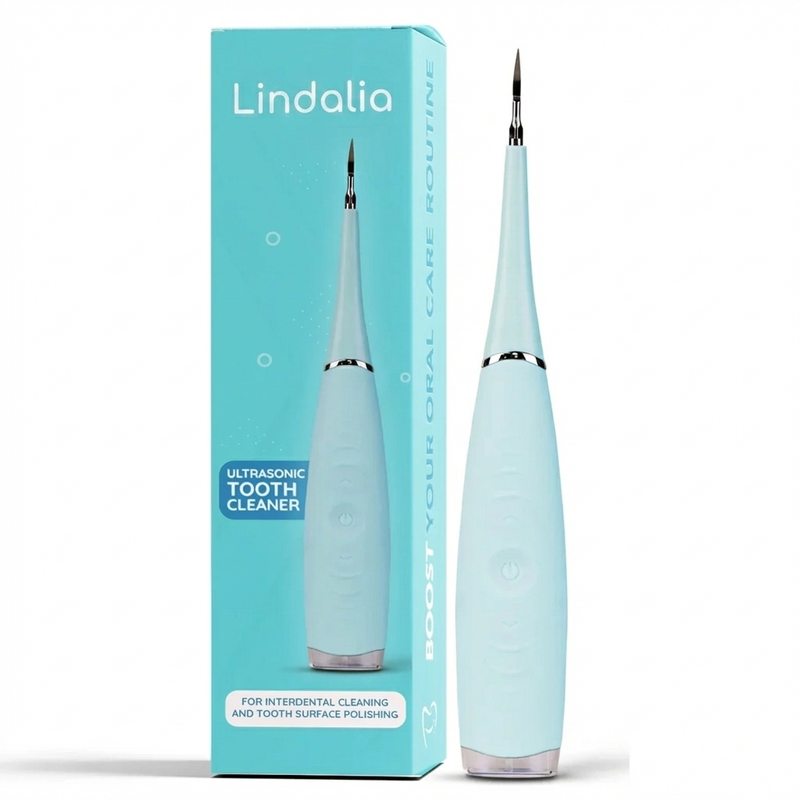
Ultrasonic Tooth Cleaner by Lindalia
Fine metal tip and flat polishing tip included. USB rechargeable, multiple intensity modes. Everything you need for this exact routine.
See the ProductStep 1: Inner Lower Front Teeth (40 seconds)
This is the highest-priority zone. Open your mouth and tilt your lower jaw slightly forward, angling the inner surfaces of your lower front teeth toward a light source. Hold the device like a pen. Place the fine tip nearly flat against the inner surface of the lowest front tooth, with the tip pointing toward the gum margin but not pressed into it.
Sweep slowly from the gum margin toward the biting edge. One slow stroke covers about 3 millimeters. Overlap each stroke by half. Cover the inner face of each of the 4 front lower teeth and the 2 canines on each side (6 teeth total). This entire zone should take 35 to 40 seconds at a deliberate pace.
You may feel the vibration transmitting through the teeth into your jaw. This is normal. If you feel sharp pain, you are pressing too hard. Reduce contact pressure immediately. The tip should float over the surface, not press against it.
Step 2: Lower Back Molars, Outer Surfaces (30 seconds each side)
The outer (buccal) surfaces of the lower back molars are the second-highest calculus accumulation zone, particularly near the parotid gland opening (located opposite the upper second molar). These surfaces are broader and easier to access than the inner lower front teeth.
Approach from the side of the mouth with lips relaxed. Hold the tip flat to the outer surface of each molar and premolar, sweeping from the gum margin upward. Work from the back of the mouth forward on one side, then switch. 30 seconds per side is adequate for most sessions.
The parotid salivary gland opens opposite the upper second molar. The calcium-rich saliva from this gland deposits mineral at the outer surface of lower back teeth, which is why this zone calcifies faster than most people expect. Spend a few extra seconds here.
Step 3: Upper Gum Margins (30 seconds per quadrant)
Calculus formation at the upper gum margins is slower than in the lower zones, but staining from coffee and tea concentrates here visibly because these surfaces are most exposed when smiling. Work across the outer surfaces of upper teeth, maintaining a flat tip angle and sweeping from gum margin toward the biting edge.
The upper front teeth are the cosmetically important zone for most people. Spend a few extra seconds on the outer surfaces of the upper 4 front teeth and canines if visible staining is present. Do not press harder near stained areas; the vibration, not pressure, dislodges the stained deposit.
Step 4: Switch to Flat Tip, Polish (60 to 90 seconds)
Remove the fine tip and attach the flat polishing tip. Apply a small amount of toothpaste to the tip or directly to the tooth surface. Work over the same zones you covered with the fine tip, using the same slow sweeping motion. The flat tip smooths the micro-rough surfaces left by deposit removal and removes the stained pellicle from areas the fine tip disrupted.
The polishing step is shorter and less focused than the calculus step. You are finishing, not removing. A light touch and moderate speed are correct here.
Step 1 to 3 remove the deposit. Step 4 makes the surface resistant to the next one forming quickly.
Step 5: Rinse Thoroughly
Rinse with water for 20 to 30 seconds, moving the water around the mouth to flush out all dislodged debris. Spit. Rinse again. If you use a water flosser, this is the moment to use it: the hydraulic flush after the mechanical disruption clears interproximal debris more completely than water rinsing alone.
Do not eat or drink anything acidic (citrus, carbonated drinks) for 30 minutes after a session. The minor surface disturbance from the session temporarily increases enamel susceptibility to acid, though this resolves quickly.
Lindalia Ultrasonic Tooth Cleaner
Fine tip for steps 1 to 3, flat tip for step 4. LED light for lower front teeth visibility. USB rechargeable.
See the ProductWeekly Schedule
Session days do not need to be fixed, but spacing matters. Two sessions per week with at least 2 days between them (for example, Monday and Thursday) is better than two sessions back to back. Plaque mineralizes continuously; spacing sessions across the week interrupts the mineralization cycle at multiple points.
After the first month, add a third session per week if your schedule allows. Three sessions per week with consistent spacing reduces calculus accumulation rate by approximately 60 to 70% compared to no home ultrasonic care, based on clinical studies of home maintenance protocols. Two sessions per week produces approximately 45 to 55% reduction. Either is meaningful; the key is the unbroken weekly habit.
Mark your professional cleaning appointment date and check your inner lower front teeth with a mirror 2 weeks before. The reduction in visible calculus and staining compared to your pre-routine baseline is typically noticeable by month 2, and pronounced by month 4 to 6.
Lindalia Ultrasonic Tooth Cleaner
200+ uses per charge. Always ready for your next session. Fine tip, flat tip, LED. The tool that makes this exact routine work.
See the Product