

Tooth Cleaner Ultrasonic: A Complete Beginner's Guide
Technique, tip angles, zones, common mistakes, and what to expect in your first four weeks.
Opening an ultrasonic tooth cleaner for the first time and not quite knowing what to do with it is completely normal. The device looks simple but the technique is specific enough that getting it right from session one makes a real difference. Here is everything you need for a confident, effective first use.
Before Your First Session: What to Expect
The sensation of an ultrasonic tip vibrating against your tooth is unlike anything in a standard oral hygiene routine. The vibration transmits through the tip into the tooth surface and from there into the jaw. On first contact, many users describe it as a buzzing or tingling sensation, occasionally with a faint humming they can feel rather than hear. This is normal and expected.
What it should not feel like: sharp pain, pressure sensitivity that takes your breath away, or an electric shock sensation. If any of these occur, you are either pressing too hard (the most common first-timer error), using too high an intensity for your current sensitivity level, or lingering too long on a single spot. All of these are adjustable.
Treat your first two sessions as orientation. You are not expected to achieve dramatic cleaning results in session one. You are familiarizing your nervous system with the sensation so that by session three or four, the experience is neutral and you can focus on technique.
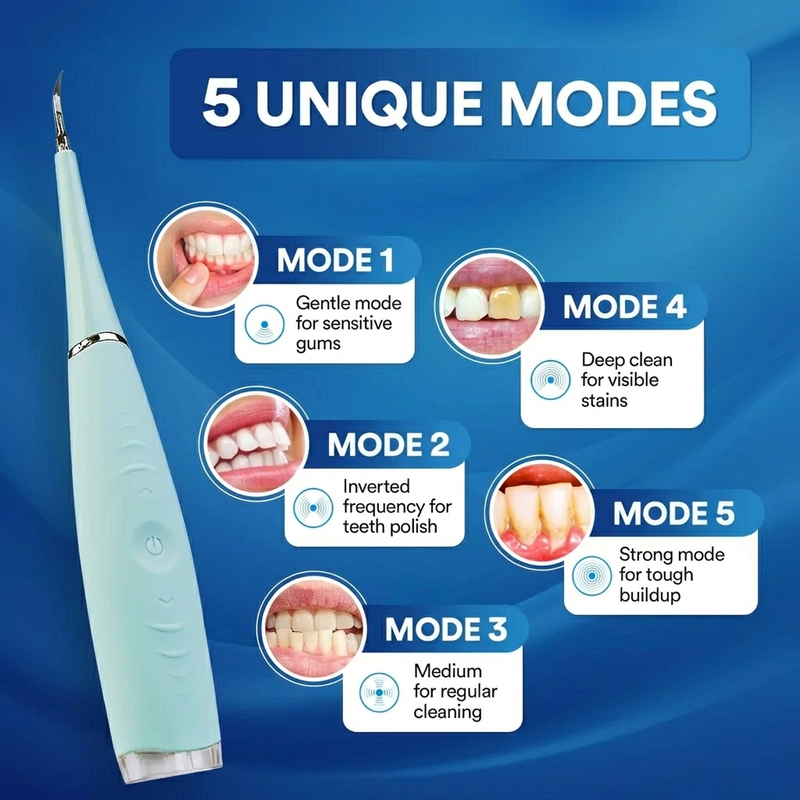
Always begin your first session on the lowest intensity setting. Even if it feels like nothing is happening, you are still producing vibration. After 3 to 4 sessions at low intensity, move up one level. This gradual escalation prevents the bad first experience that leads to abandonment of the device.
How to Hold the Device
Hold the device like a pen, between your thumb and the side of your index finger, with your middle finger providing light support underneath. This is the modified pen grasp used in clinical dentistry, and it is the right grip for a reason: it naturally limits the amount of pressure you can apply. A full-fist grip around the handle allows you to press much harder, which is exactly what you do not want.
Your grip should be loose enough that if someone tapped the device out of your hand, it would come free easily. You are not gripping for control; the device is light and the tip needs minimal guidance. Tight gripping transfers tension up your arm and into the tip contact point as pressure, which defeats the purpose of the technology.
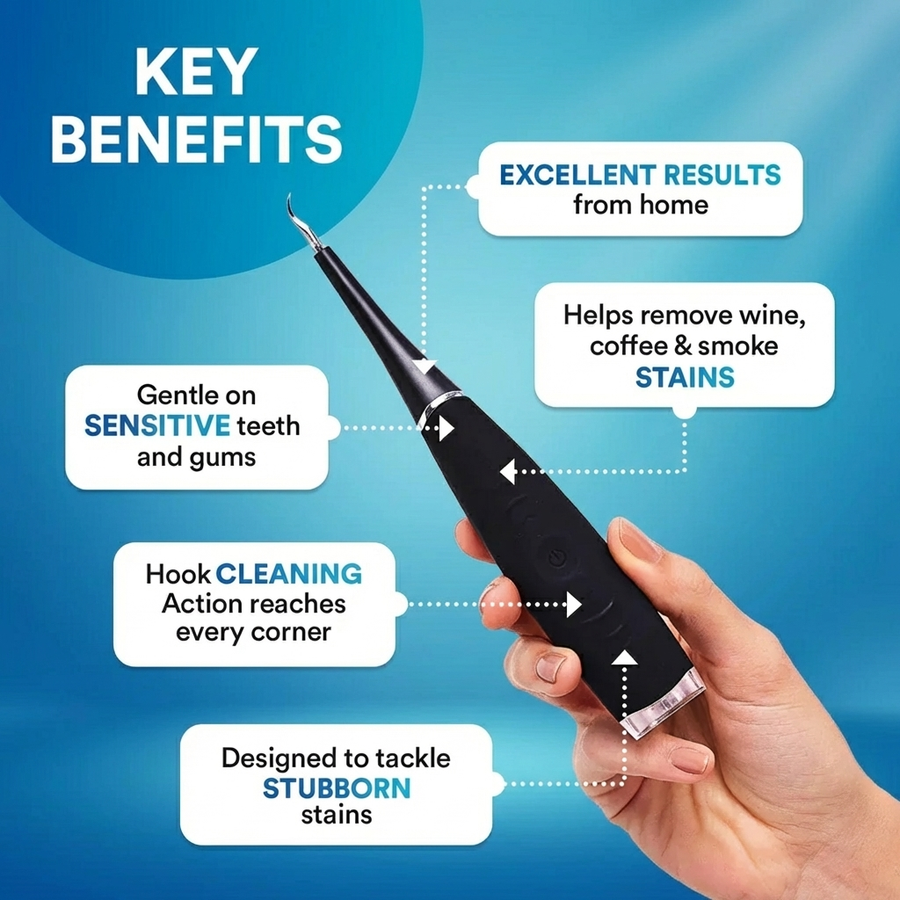
Ultrasonic Tooth Cleaner by Lindalia
Multiple intensity modes from gentle to effective. LED light shows you exactly where you are working. Pen-sized for natural, controlled grip.
See the ProductThe Correct Tip Angle and Movement
The single most important technique principle: the tip should be nearly parallel to the tooth surface, not perpendicular to it. Hold the tip at approximately 15 to 20 degrees from the enamel, almost flat against it. This angle maximizes the surface contact area for energy transfer and keeps the very point of the tip away from the gum margin.
Movement pattern: slow, overlapping sweeping strokes. Think of painting a wall with a brush, overlapping each stroke by about half. Move from the gum margin toward the biting edge of the tooth, then back. Keep the tip moving continuously; do not pause in one spot for more than 2 seconds. Speed should be slow enough that you cover each section deliberately but not so slow that you are holding still.
Pressure: nearly none. If you press the tip firmly against the tooth, you dampen the vibration rather than enhancing it. The tip should barely graze the surface. If you can feel the tip compressing against the enamel, you are pressing too hard. Think: the tip should feel like it is floating over the tooth surface, guided by your hand but not pushed by it.
Zone by Zone: Where to Focus
Start with the inner (lingual) surfaces of your lower front teeth. This is where the sublingual salivary glands deposit mineral-rich saliva, making it the fastest site of calculus accumulation in most adults. The tongue-side surfaces of the lower incisors and canines should receive the most attention in every session.
Next: the outer (buccal) surfaces of lower back teeth near the opening of the parotid salivary duct, located opposite the upper second molar. This is the second most common calculus accumulation site. The flat outer surface of these molars is relatively easy to reach and worth consistent attention.
Then work through the outer surfaces of upper teeth, paying particular attention to where the gum margin meets the tooth. This is where calculus ledging begins in most people. The tip should approach this area from a flat angle, sweeping along the margin without dipping below it.
A small dental mirror or even a compact makeup mirror held at an angle gives you visibility on the inner surfaces of lower teeth that you cannot normally see. Using it during sessions helps you verify tip placement and spot areas of staining or calculus that need more attention. Worth the investment.
Common First-Timer Mistakes
Pressing too hard is the most common. Followed closely by using too high an intensity on the first session. Third most common: focusing exclusively on visible front teeth and neglecting the inner lower surfaces where the work matters most. Fourth: sessions that are too short, under 90 seconds, which does not allow enough time for vibrational energy to fracture deposits even on accessible surfaces.
A less obvious mistake: using the device on teeth that still have fresh brushing residue (fluoride toothpaste) on them. Toothpaste residue between the tip and the tooth acts as a damping layer that reduces vibrational energy transfer. Use the device before applying toothpaste, or after rinsing thoroughly if you brush first.
Finally, irregular use is the most impactful mistake in terms of long-term results. Using the device three times in one week and then not touching it for two weeks does not produce meaningful calculus reduction. The goal is consistent, lower-frequency use: two sessions per week, every week, beats five sessions one week and none the next.
Technique before intensity. You cannot out-power poor form.
Signs That It Is Working
Visible staining reduction on the front surfaces of teeth within 2 to 3 weeks of consistent use. A slightly smoother feel when running your tongue over the inner surfaces of lower front teeth, where early calculus deposits have a characteristic rough, grainy texture. At your next professional cleaning, your hygienist commenting on less buildup than usual or a shorter, less intensive scaling session.
What you will not see: dramatic overnight changes. Calculus that has been present for months does not dissolve in a single session. The vibrational energy disrupts the crystal structure progressively, and deposits that have had time to thicken and layer require multiple sessions to fully remove. Patience and consistency compound into real results over 4 to 8 weeks.
Lindalia Ultrasonic Tooth Cleaner
LED light for working visibility. Multiple intensity modes for gradual start. Fine metal tip and flat tip included. Everything for a confident first session.
See the ProductBuilding to a Full Routine
After the first month, you will have established technique instinctively and the sensation will be completely neutral. At that point, increase to the middle intensity setting if you have not already, which improves effectiveness on moderate deposits. Add the flat polishing tip as a finishing step after the fine tip work to smooth surfaces and enhance stain removal.
Most users settle into a routine of 2 to 3 sessions per week, 3 to 4 minutes per session including both tips, as the final step in their evening oral hygiene. The routine becomes automatic within 6 to 8 weeks, and the results at professional cleanings confirm the investment.
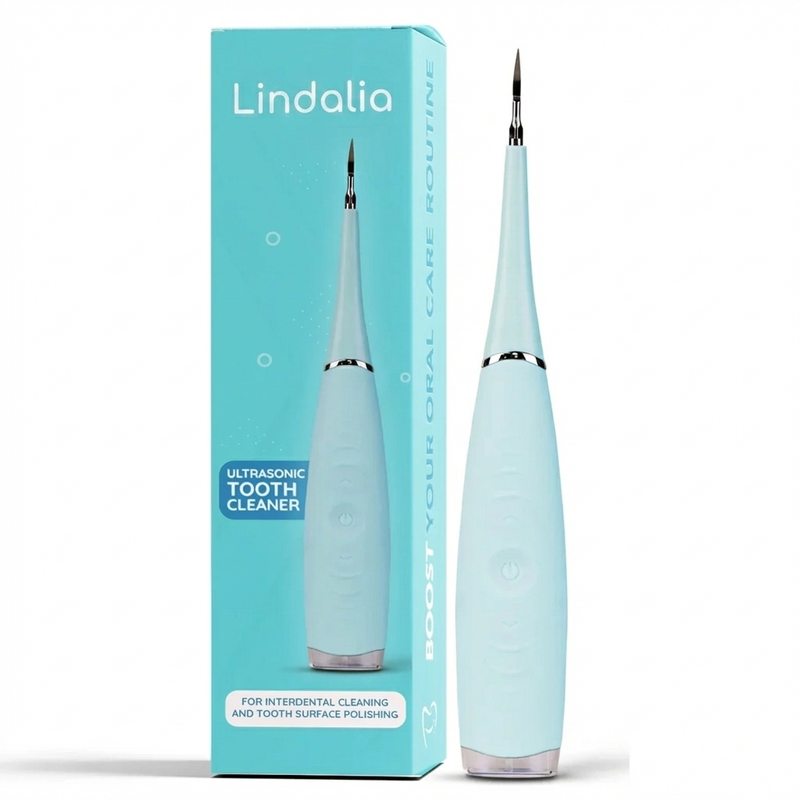
Lindalia Ultrasonic Tooth Cleaner
USB rechargeable. Fine tip for tartar. Flat tip for stains. LED for visibility. The complete beginner-to-expert at-home tool.
See the Product